Openers · Strathroy-Caradoc
Photo-Eye Sensor Alignment or Replacement
After a cold night the door stays open until the garage warms up.
In plain words
If your opener has no sensors at the floor, that alone does not date it, since a pair can be missing, removed or never reconnected; the technician identifies the model before deciding whether a pair can be restored or the operator itself needs replacing. The visit is still worth making: the technician tests contact reversal and sets out what a modern operator brings, including a matched sensor pair, force reversal and a monitored circuit that holds the door open until the beam clears. Where sensors are present but tucked up beside the motor, they are returned to the doorway where they belong.
How the visit goesYou press the remote, the door drops a few centimetres, then climbs straight back to the top while the opener light blinks. Nothing is under the door. It has done this every evening this week.
Photo-Eye Sensor Alignment or Replacement
How the visit goes
Counting the opener's flashes
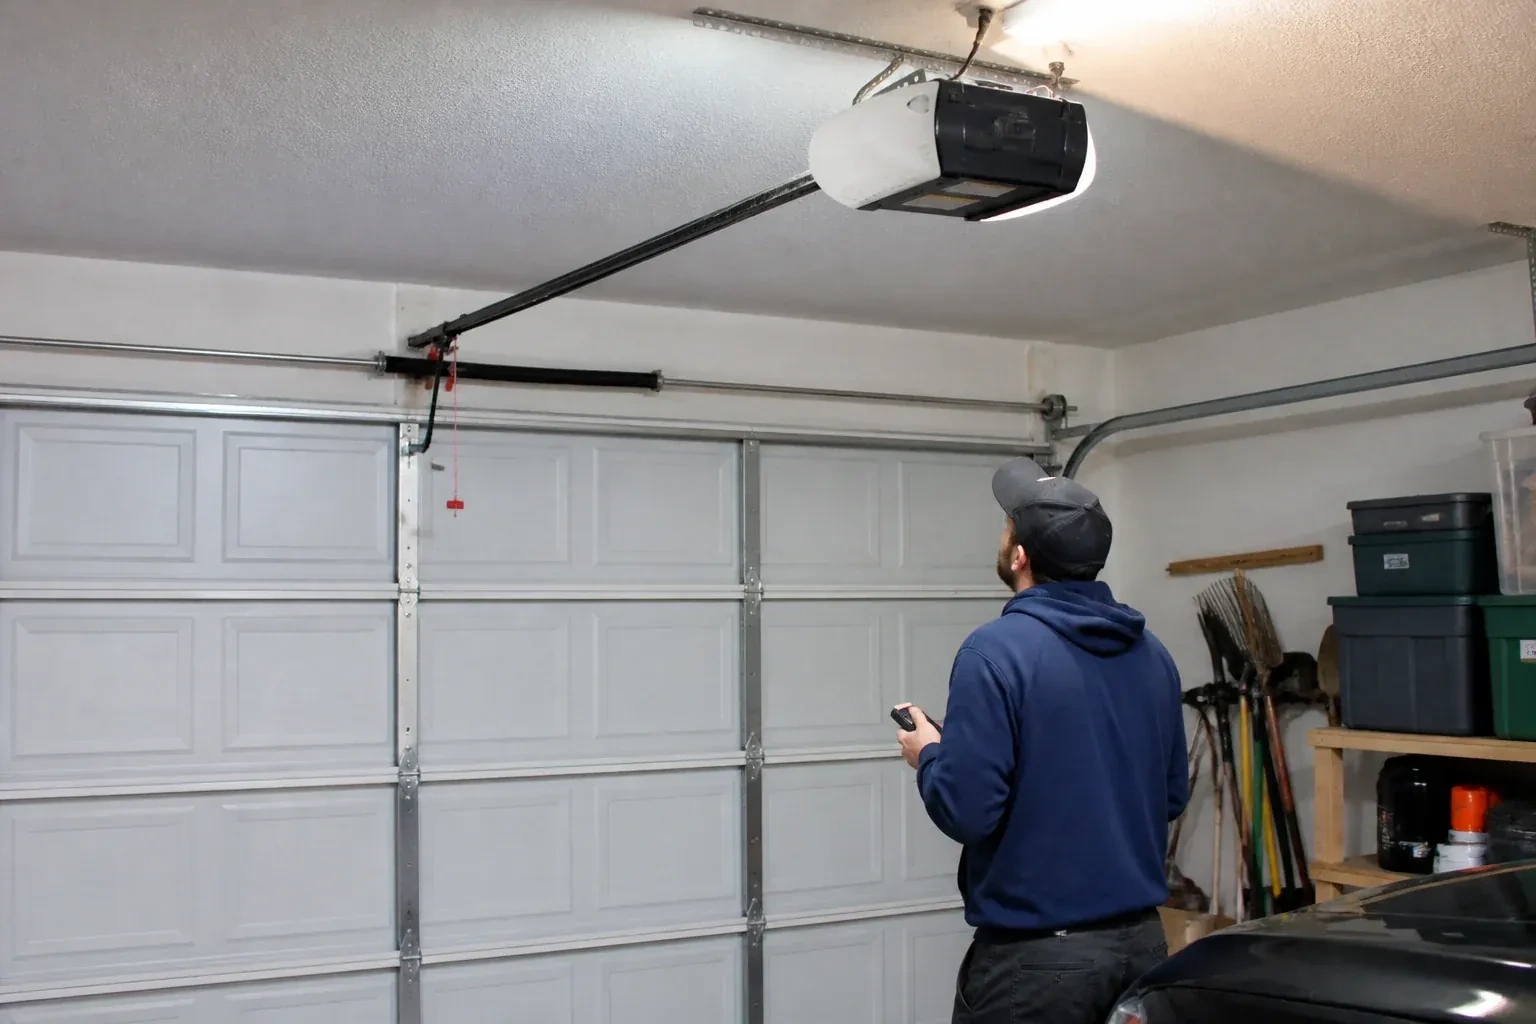
The head unit has its own way of reporting a sensor problem. Many openers flash the light bulb a fixed number of times when close is pressed and the beam is not satisfied, and newer units blink a code on their up and down arrows that separates a blocked or misaligned beam from a cut wire, a disconnected pair or reversed wiring. The technician reads the model off the label, counts the pattern and matches it to the maker's chart. This is what keeps the visit efficient: a code that says the circuit is open sends the work to the wiring, while a code that says obstructed or misaligned sends it to the brackets.
Resetting the alignment
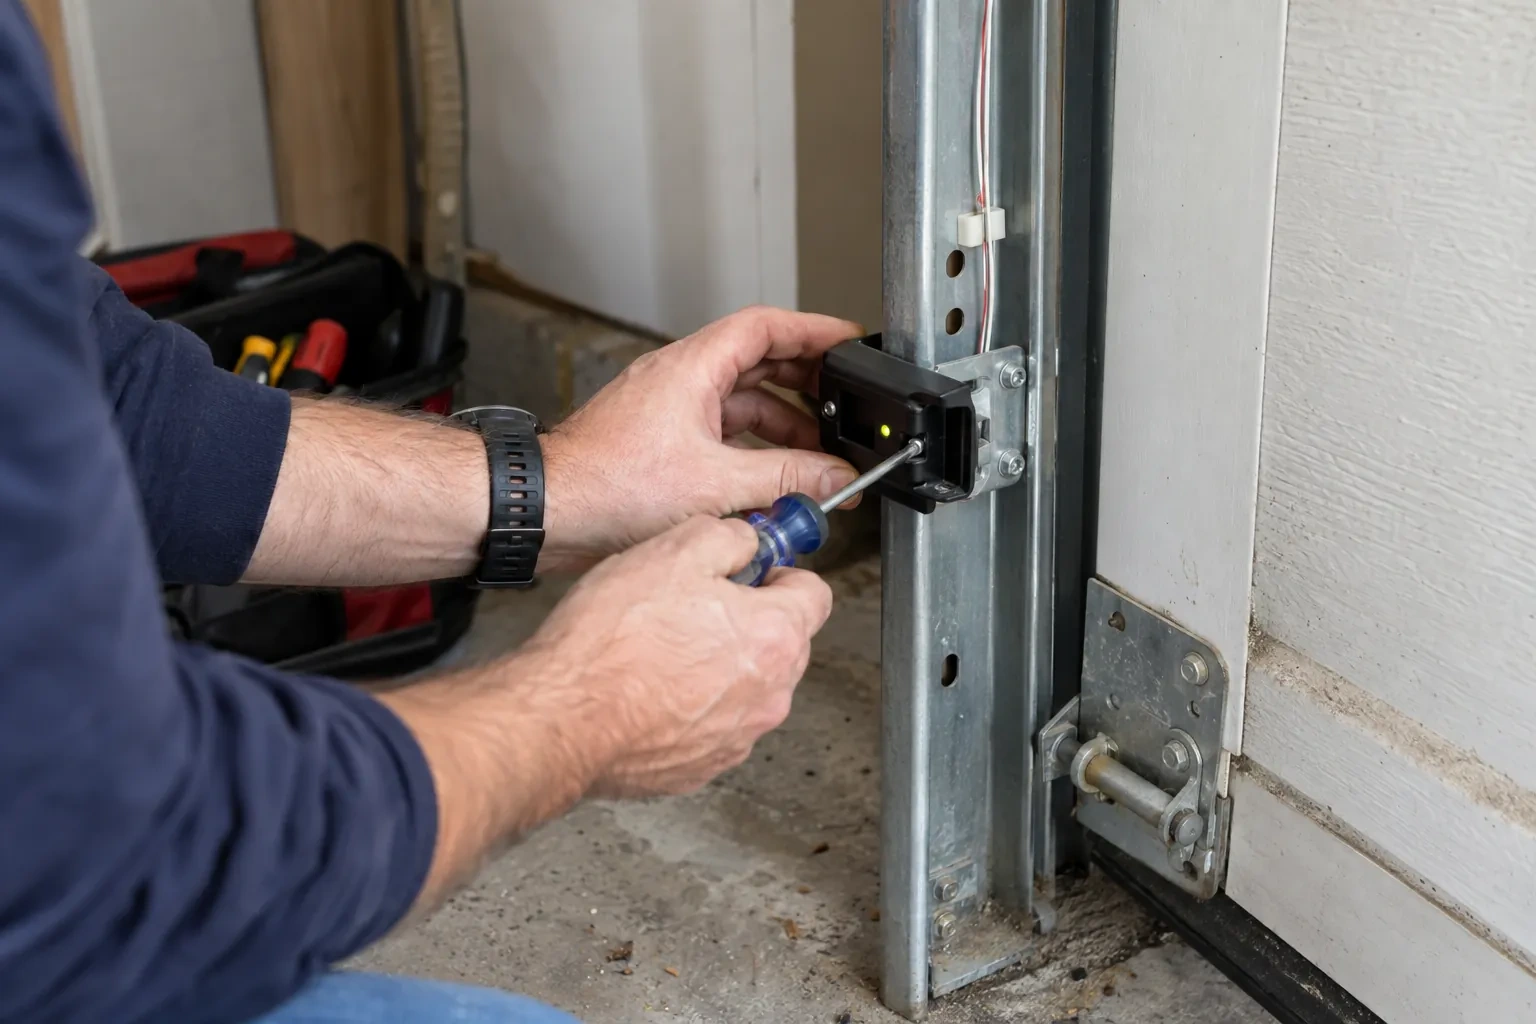
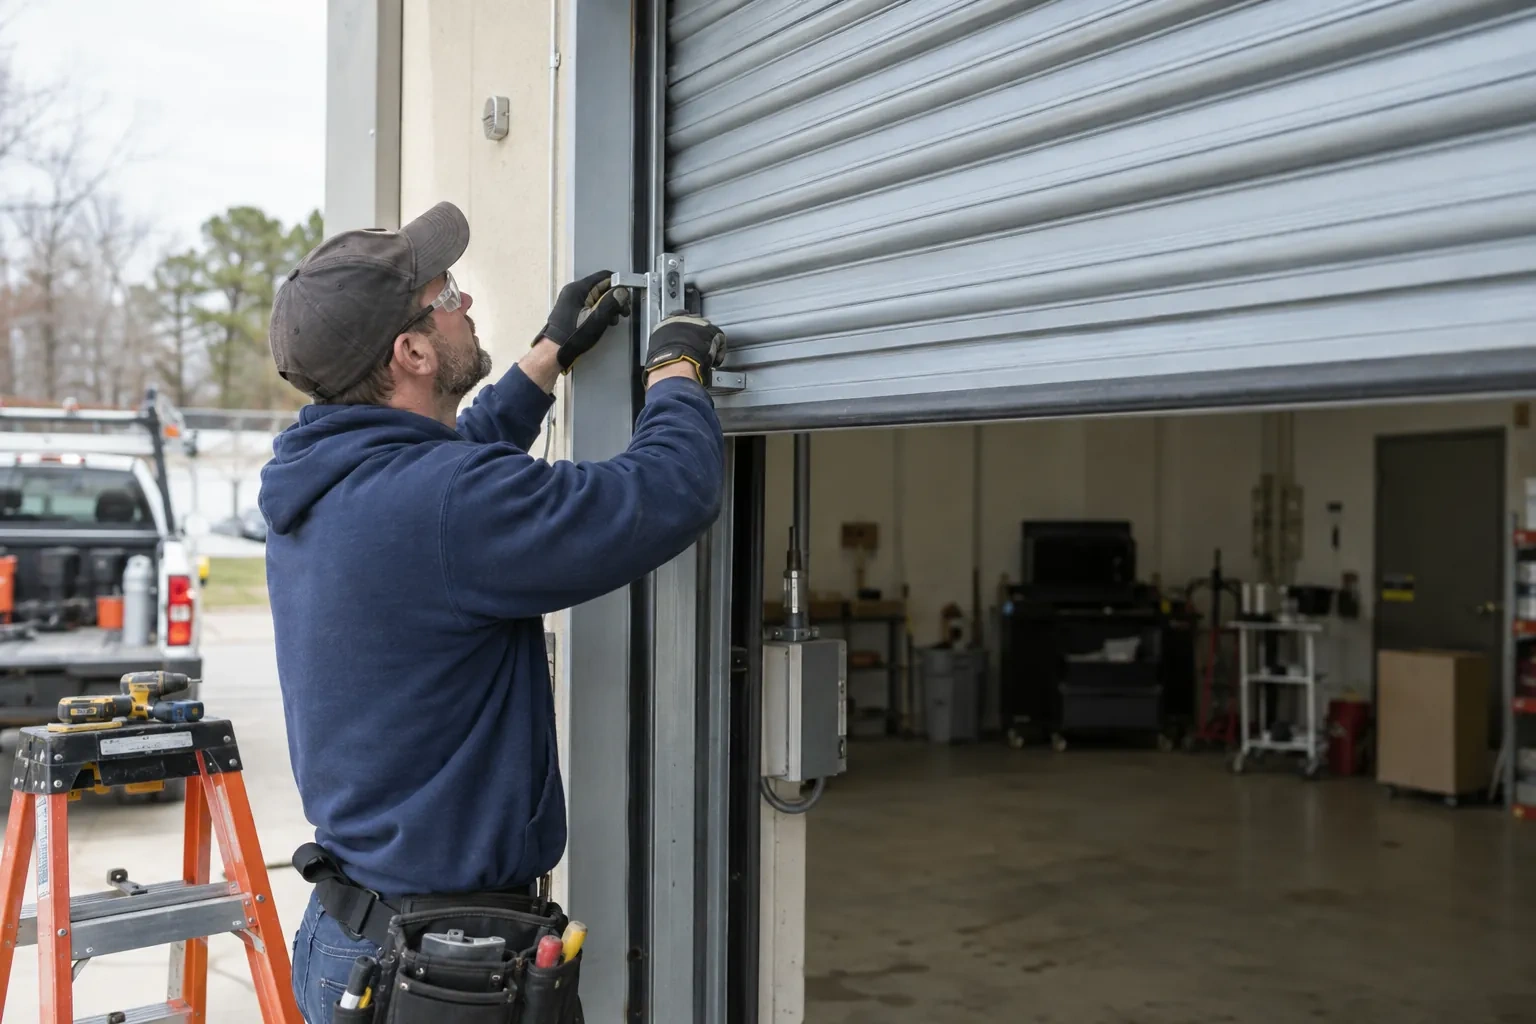
Alignment is done with the door open and the lights in view. The technician sets both sensors to the same measured height, loosens the wing nut on the receiving side, and turns the sensor a fraction at a time until its indicator changes from dark or flickering to steady. The nut is tightened while the light is watched, because a sensor can drift as the fastener bites, and the sending side is treated the same way. Brackets are checked for play and the wire is re-clipped so it cannot tug the sensor out of line. A steady light on both sides, held through a few door cycles, is the standard.
Wiring that stays put
The wire between the head unit and the sensors has been secured along the ceiling and walls, clipped clear of the track and, where it was exposed, run inside a protective channel. Two things keep it that way. First, when anything is fastened to those walls or that ceiling, from shelving to a bike hook to drywall, look for the thin wire before driving a screw or a staple. Second, if mice have been in the garage, a chewed wire is a common sign, so a dark sensor light after a sighting is worth a look at the run. Either way, the sensor lights will tell you the moment the circuit is open.
Photo-Eye Sensor Alignment or Replacement
In the van
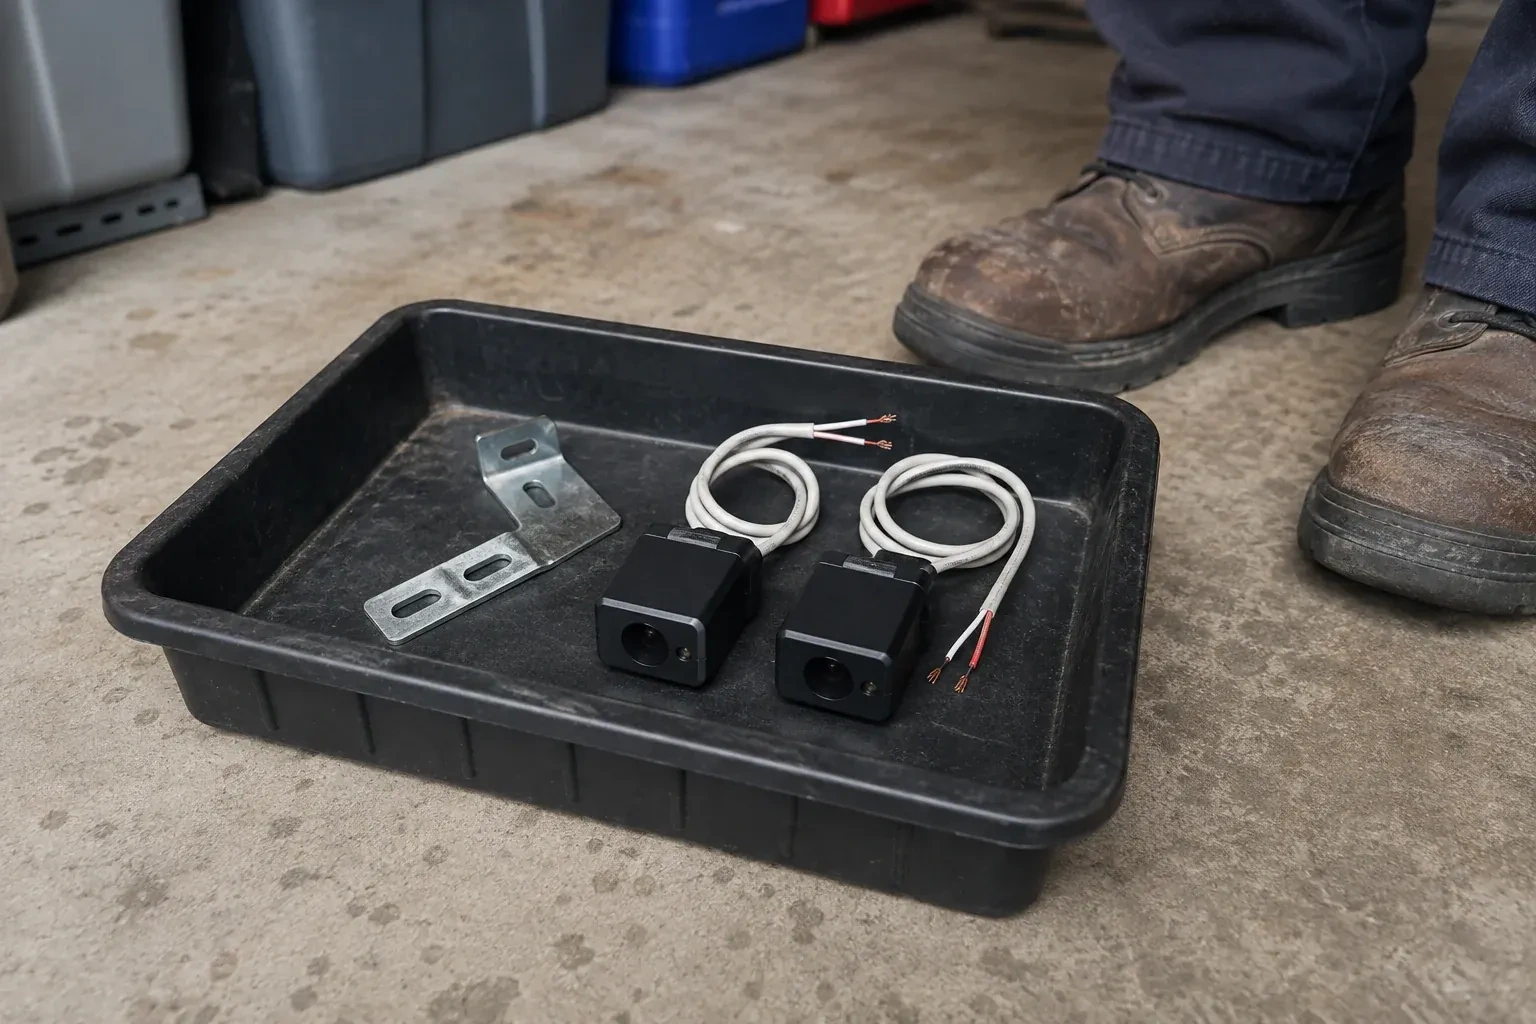
Matched photo-eye sensor pair
Wing nuts and carriage bolts
Receiving-eye sun shade
2x4 test block
Track-mount sensor brackets
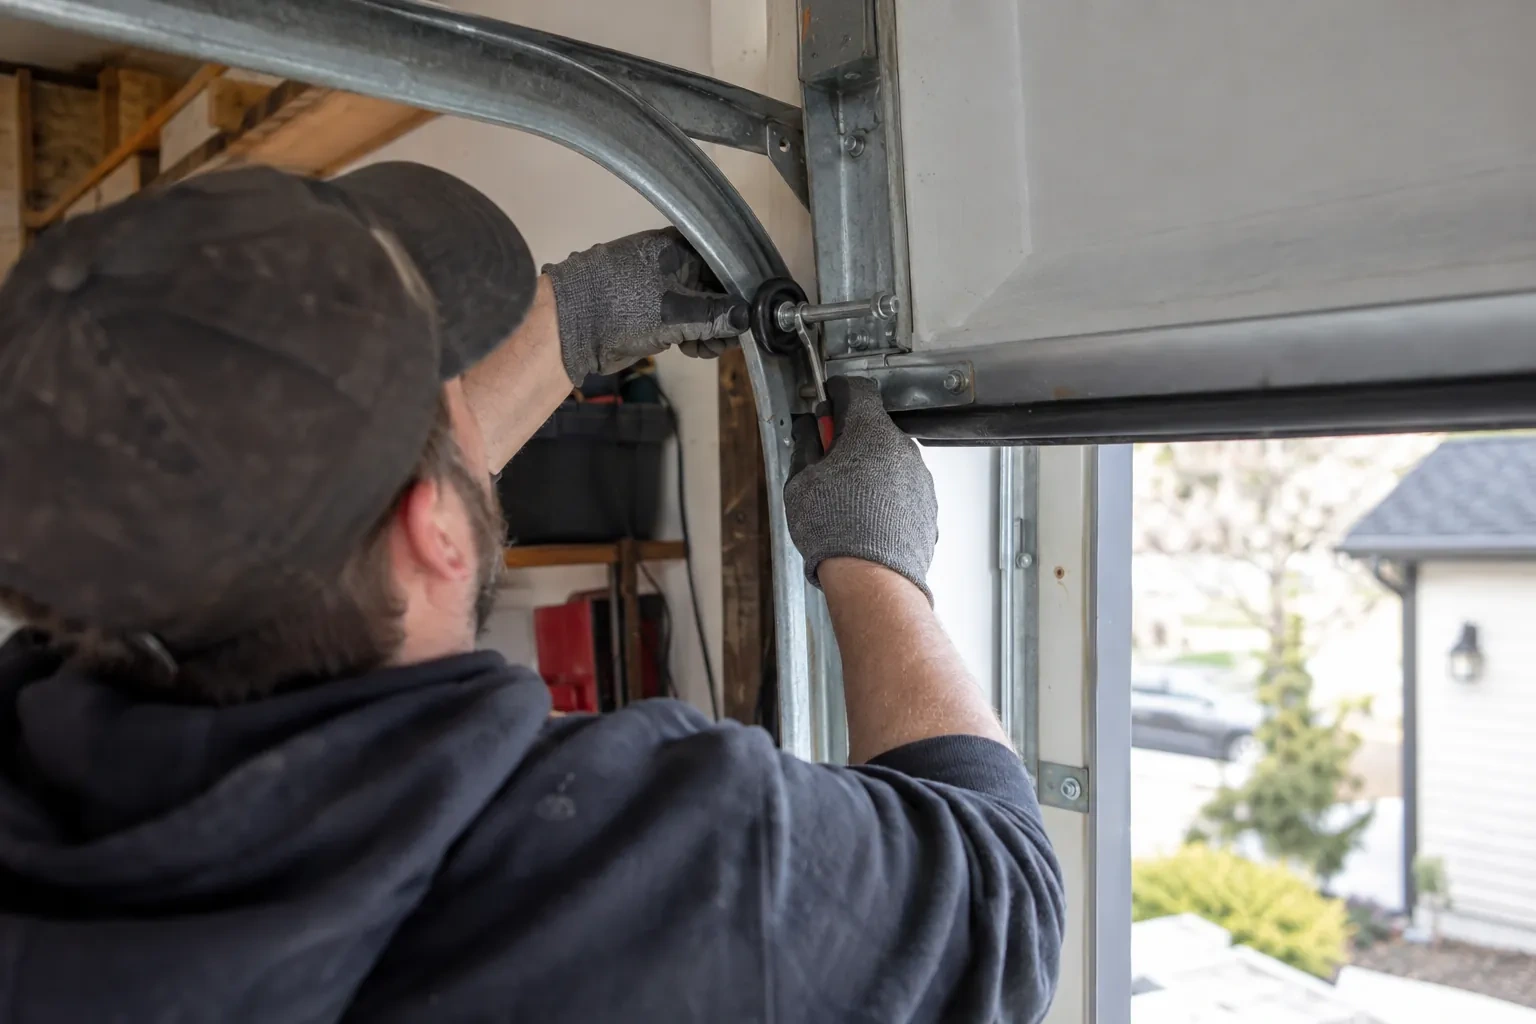
Photo-Eye Sensor Alignment or Replacement
What affects the quote
Winter conditions on the day
Snow and ice packed against the brackets, a frozen bottom seal or a frozen floor where anchors must go all add a little clearing and care before the sensor work itself can start.
Force and travel adjustment alongside
If the reversing turns out to involve a travel limit set long or a force setting made in summer, adjusting and re-testing those settings is included as a small extra step.
Wall or floor mounting with anchors
Mounting into concrete or masonry rather than onto the track means drilling, anchors and sealing against water, which takes more time than clipping to the rail.
What to have ready
- What make and model is on the opener's label, and roughly how old is it?
- What do the two small sensor lights show: both steady, one dark or flickering, or both dark?
- When did it begin, and what was different that week: a bump, new shelving, a storm, a frost?
Photo-Eye Sensor Alignment or Replacement: questions
QuestionsWhat can I check myself before calling?
Three things, all safe. Look along the floor between the sensors for anything in the path, including snow, leaves or a cobweb across a lens. Look at the two sensor lights and note whether one is dark or flickering, or both are dark. Press close and count the flashes of the opener light. If moving an object or wiping a lens brings the receiving light back on steadily, the door may close normally again; if not, those observations make the visit shorter.
Do I need to be home for the work?
It helps. The technician needs access to the garage and the head unit, and the visit ends with a demonstration of the sensor lights and the two tests so you know what normal looks like. If you cannot be there, an adult who can open the garage is enough, and the written note left afterwards records what was found and changed. Having the strip of floor beside the door clear before arrival saves time either way.
How high off the floor should the sensors sit?
Low. The industry checklist expects the beam no more than roughly 15 cm (6 in) up from the floor, so that a small child, a pet or a bicycle wheel breaks it. Both sensors are set at the same measured height and level with each other, since a difference of a couple of centimetres is enough to lose the beam. Within that rule the technician can raise them a little to keep them out of the strip where slush collects.
Related services
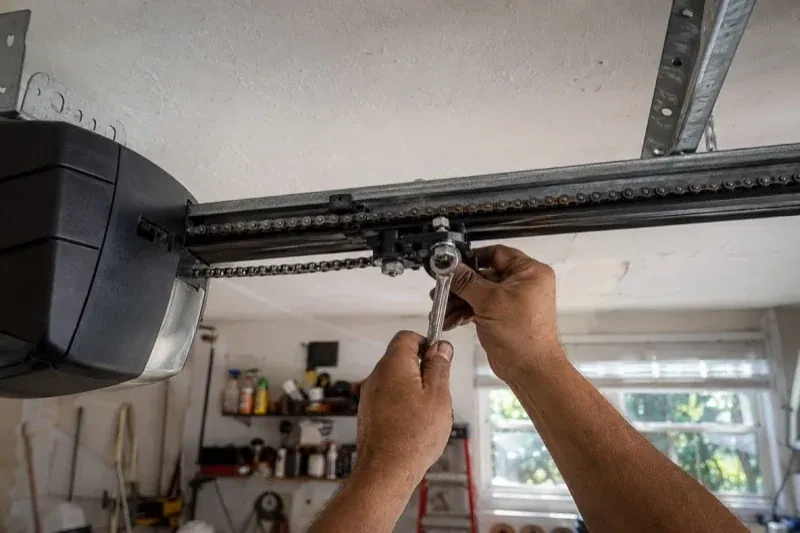
- Chain-Drive Opener RepairThe door closes, touches the floor, then climbs straight back up as if it hit something.
- Belt-Drive Opener RepairHalfway up, every single time, the door hesitates and there is a ratcheting sound from the motor head, then it carries on.
- Garage Door Opener ReplacementThe remotes only work from the end of the driveway now, and one of them disappeared with a set of keys last month.