Openers · Strathroy-Caradoc
Photo-Eye Sensor Alignment or Replacement in Strathroy-Caradoc
After a cold night the door stays open until the garage warms up.
In plain words
Some sensor problems keep a schedule. A receiving eye that faces the low sun on winter mornings is flooded with light and loses the beam until the sun moves on, and a lens that frosts overnight in an unheated garage clears itself by noon. The service sorts these out for good: the sensors are swapped side to side so the receiver faces away from the light, or a small shade is fitted, and lenses and brackets are cleaned and reset above the line where slush collects. The door then closes at any hour of the day and in any month.
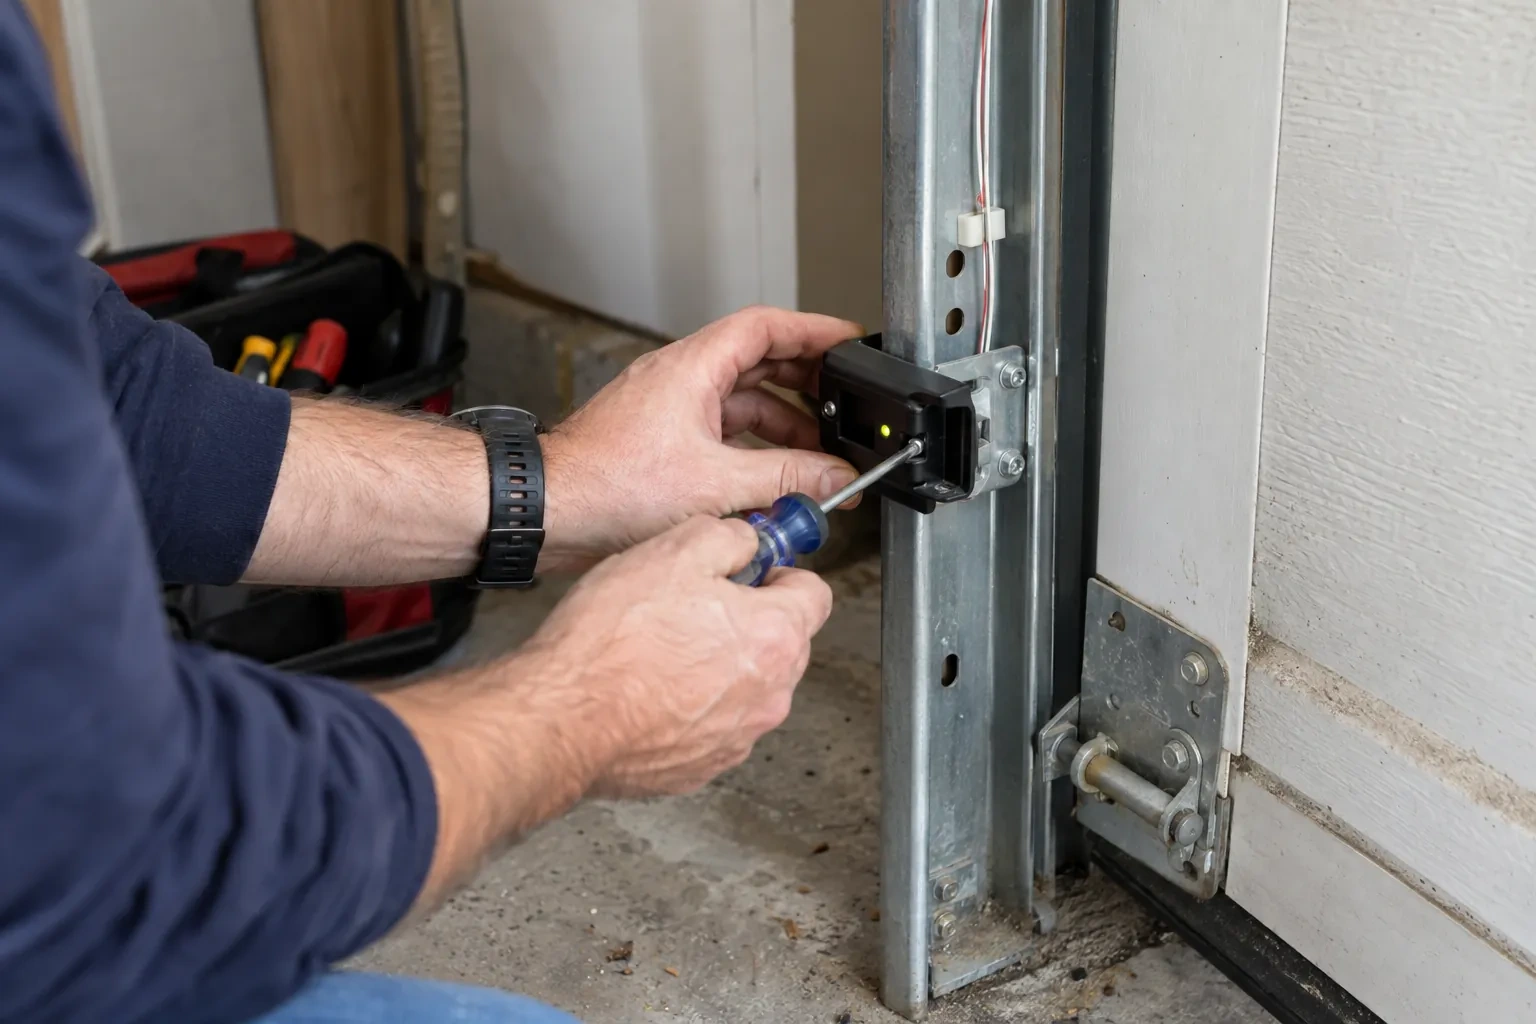
How the visit goesThe small light on one of the sensors near the floor has gone dark, or it flickers when someone walks past the track. The other one glows steadily. The door refuses to close from the car.
Photo-Eye Sensor Alignment or Replacement
How the visit goes
Making sure it is the sensors and not the door
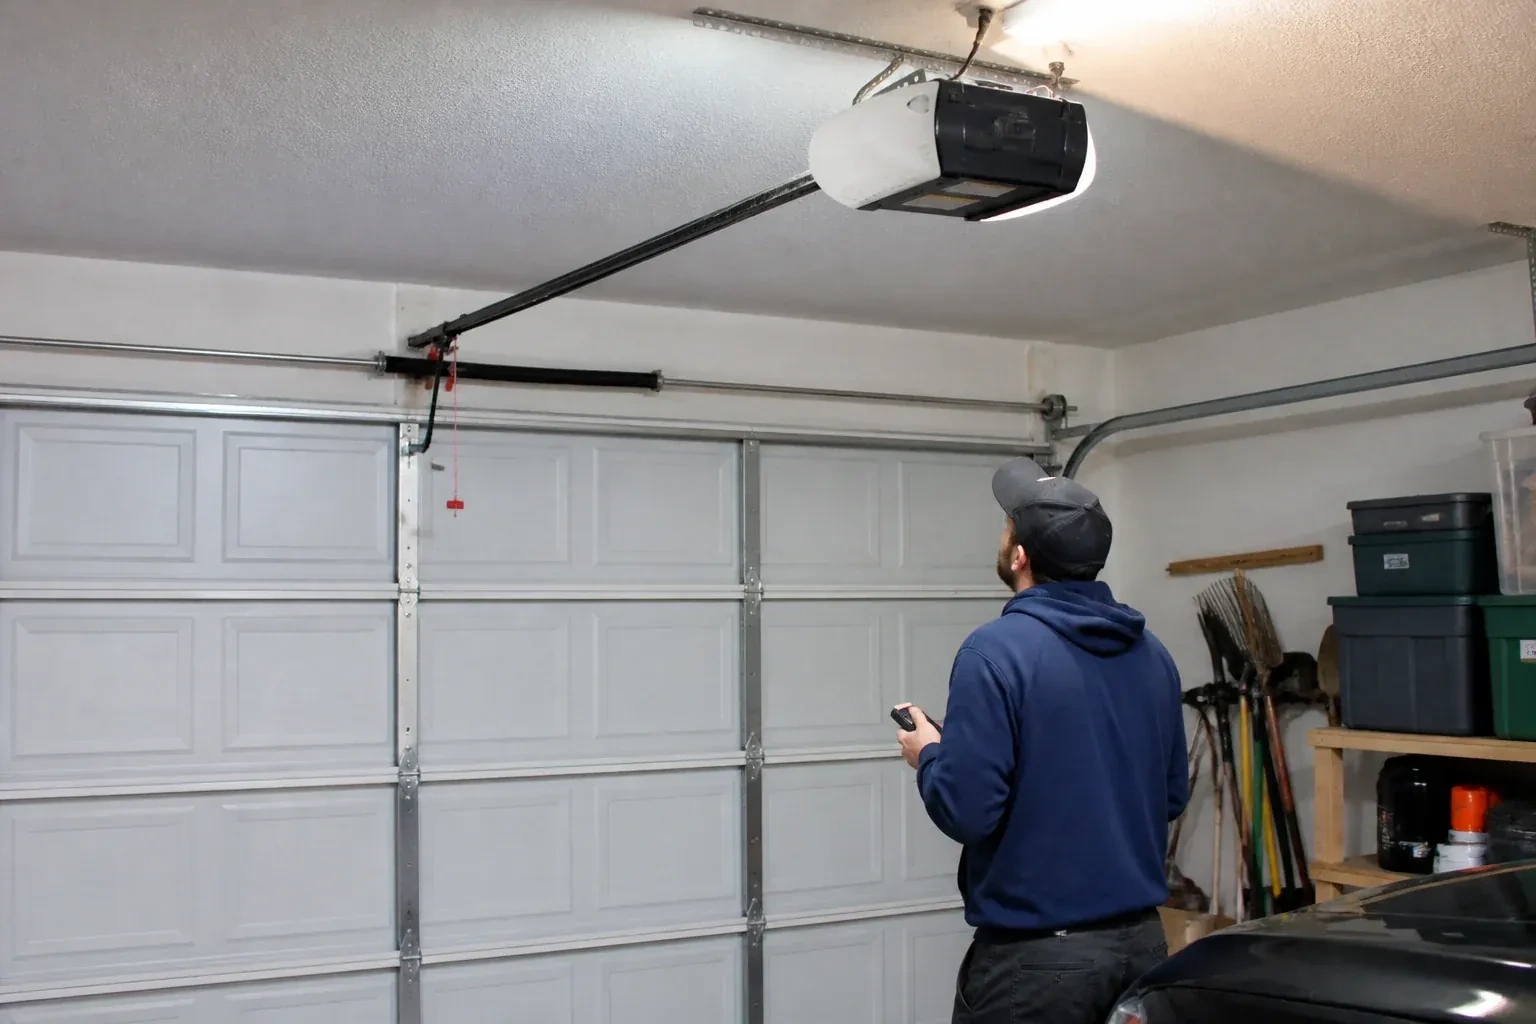
A door that reverses on the way down has two possible reasons, and only one of them lives at the floor. If the door touches something, including a bottom seal frozen to the slab, a travel limit set slightly long or a stiff door in cold weather, the force setting sends it back up. That looks like a sensor fault from the driveway but calls for a different fix. The technician checks whether the door reverses before it moves or after it meets resistance, watches the sensor lights during the cycle, and tries the door with the beam deliberately shaded. The answer decides whether the work stays with the sensors or moves to the settings.
Cleaning and protecting the lenses
Lenses are wiped with a soft cloth and a mild cleaner, never scraped, and the housings are checked for cracks that let in water. Sensors that have been sitting in the strip where slush and salt collect are raised within the permitted height range and their brackets sealed. On a wall where the wire runs exposed, a slim protective channel keeps it clear of bins and bikes. Where mice have been at the wire, the new run is routed higher along the wall and dropped straight down to each sensor. These small measures are what keep a repair from repeating the following winter.
A record of the work
You have a short written note of what was done: the opener make and model, what the diagnostic code and the sensor lights showed on arrival, whether the fault was alignment, wiring, sun or a worn sensor, what was replaced and where the new parts sit. It records the height the sensors were set at and that both tests were passed with you watching. That note is useful for a home inspection, for the next technician, and for you, because it shows what normal looks like on this door so a future change is easy to describe over the phone.
Photo-Eye Sensor Alignment or Replacement
In the van
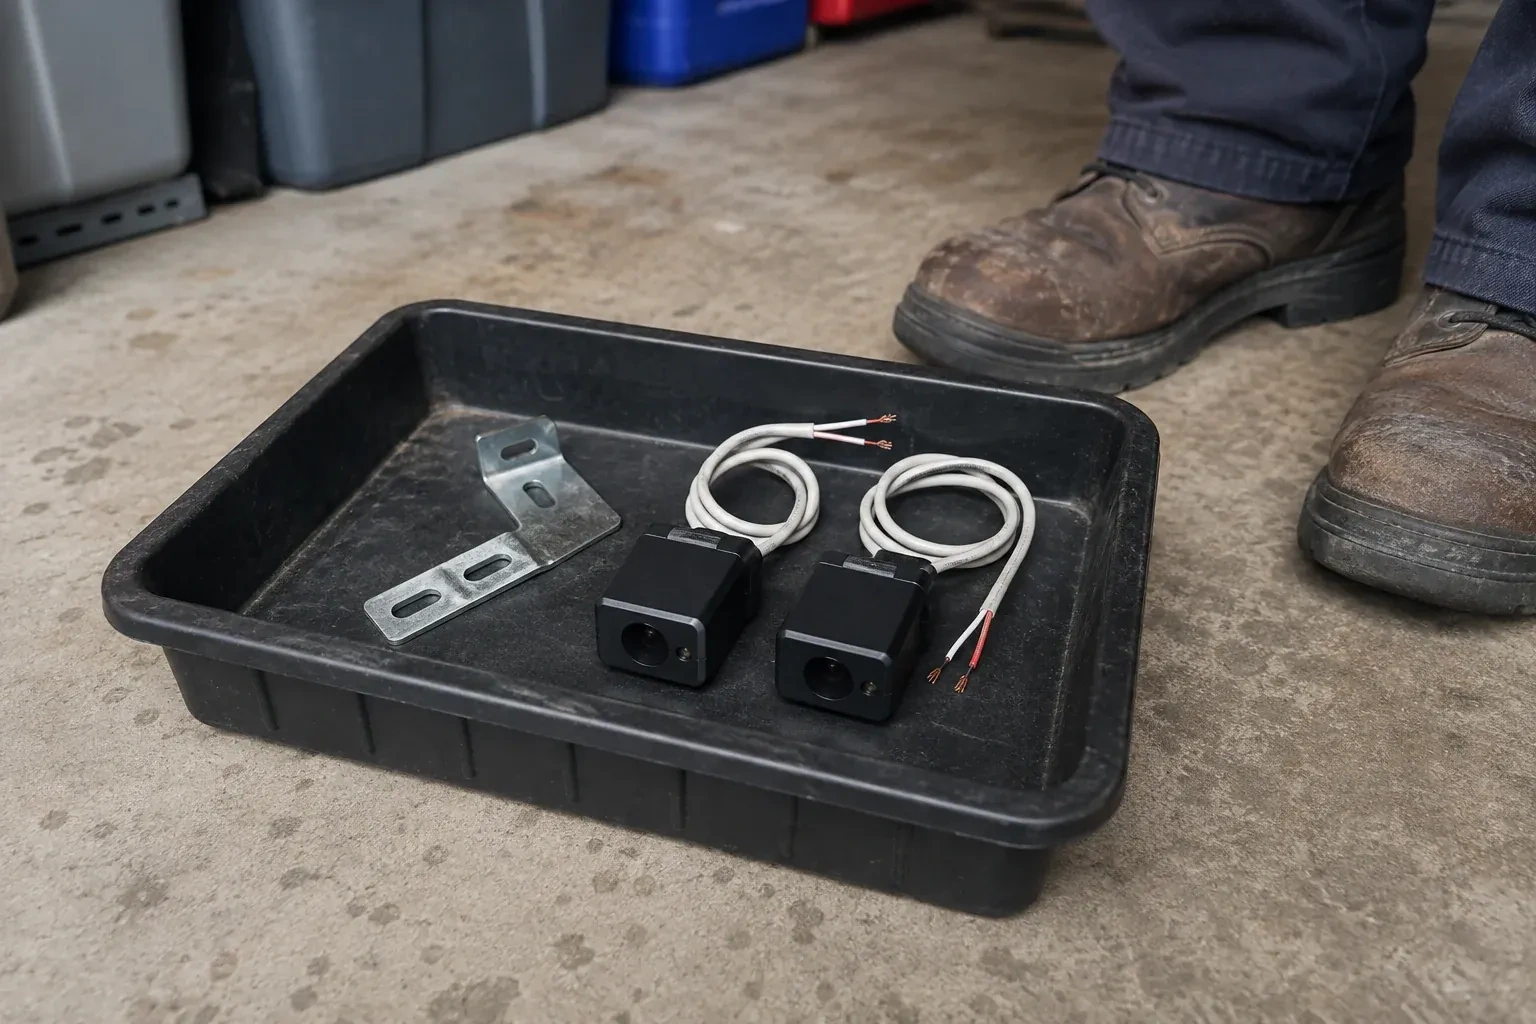
Matched photo-eye sensor pair
Wing nuts and carriage bolts
Receiving-eye sun shade
2x4 test block
Track-mount sensor brackets
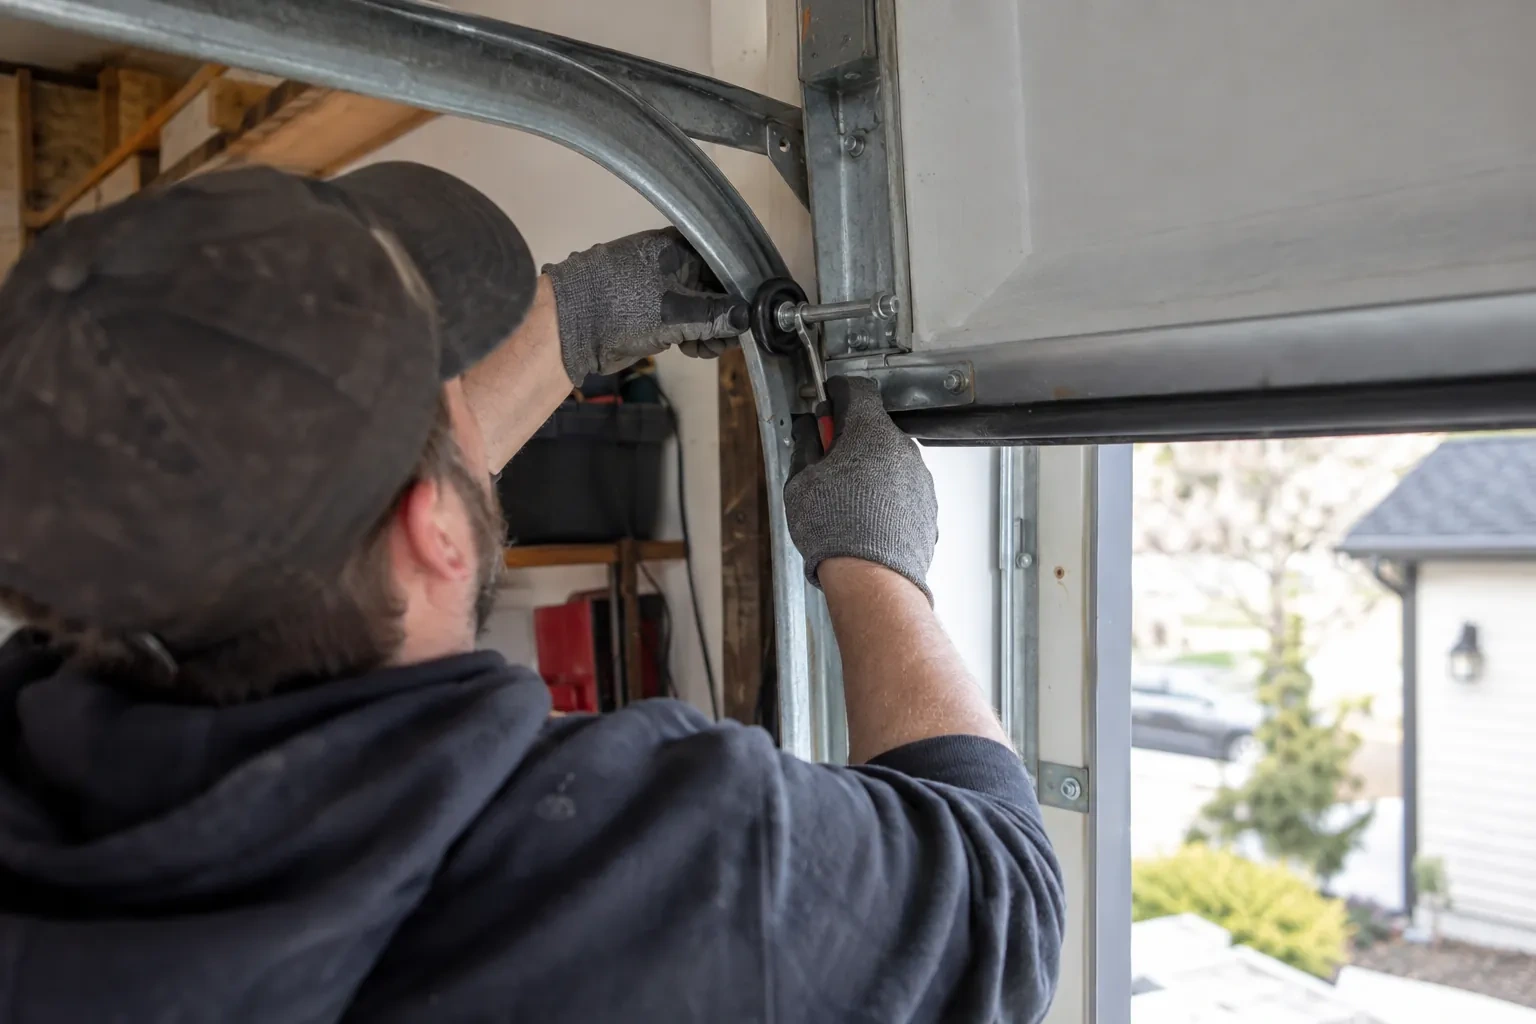
Photo-Eye Sensor Alignment or Replacement
What affects the quote
Door-side findings
A balance problem, a stiff roller or a bottom seal that needs replacing sometimes shows up during testing. Those belong to their own service and are noted and quoted separately rather than hidden in the sensor work.
Corrosion reaching the head unit
Where salt and water have travelled up the wire to the terminals, or the sensor terminals on the board are damaged, the repair extends beyond the pair and that is set out separately.
Access to the doorway and the head unit
A clear strip along the floor and a reachable head unit make for a direct job. Shelving, vehicles or stored goods that must be moved to reach the sensors, wire or terminals add time.
What to have ready
- When did it begin, and what was different that week: a bump, new shelving, a storm, a frost?
- Which direction does the garage door face?
- Does it happen at all hours, or mainly on bright mornings or late afternoons?
Photo-Eye Sensor Alignment or Replacement: questions
QuestionsWhat can I check myself before calling?
Three things, all safe. Look along the floor between the sensors for anything in the path, including snow, leaves or a cobweb across a lens. Look at the two sensor lights and note whether one is dark or flickering, or both are dark. Press close and count the flashes of the opener light. If moving an object or wiping a lens brings the receiving light back on steadily, the door may close normally again; if not, those observations make the visit shorter.
Do I need to be home for the work?
It helps. The technician needs access to the garage and the head unit, and the visit ends with a demonstration of the sensor lights and the two tests so you know what normal looks like. If you cannot be there, an adult who can open the garage is enough, and the written note left afterwards records what was found and changed. Having the strip of floor beside the door clear before arrival saves time either way.
How high off the floor should the sensors sit?
Low. The industry checklist expects the beam no more than roughly 15 cm (6 in) up from the floor, so that a small child, a pet or a bicycle wheel breaks it. Both sensors are set at the same measured height and level with each other, since a difference of a couple of centimetres is enough to lose the beam. Within that rule the technician can raise them a little to keep them out of the strip where slush collects.
Related services
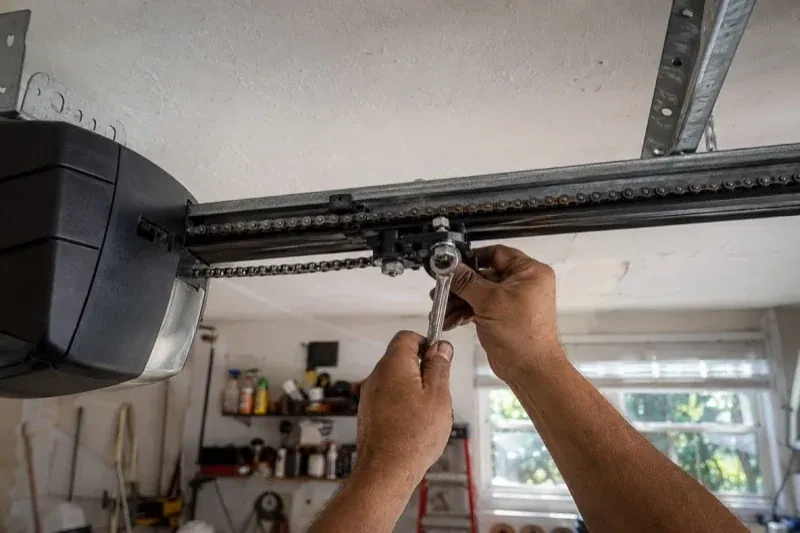
- Chain-Drive Opener RepairThe door closes, touches the floor, then climbs straight back up as if it hit something.
- Belt-Drive Opener RepairHalfway up, every single time, the door hesitates and there is a ratcheting sound from the motor head, then it carries on.
- Garage Door Opener ReplacementThe remotes only work from the end of the driveway now, and one of them disappeared with a set of keys last month.